How to Make an Easy Paper Butterfly
Create a beautiful paper butterfly with this simple origami tutorial. Perfect for decorations, cards, and spring crafts for kids.

Materials
- 1 square sheet of paper (two colors recommended)
- Flat surface
Step-by-step Instructions
1. Fold Diagonally
Start with a square paper, colored side up. Fold in half diagonally to form a triangle.
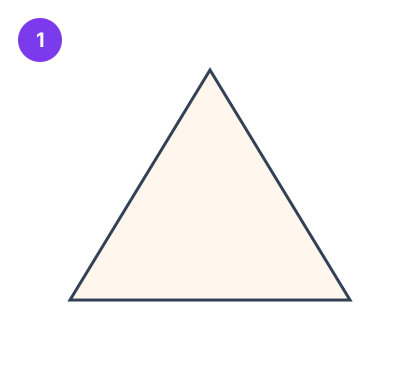
2. Fold the Triangle
Fold the triangle in half to form a smaller triangle, then unfold back to the larger triangle.
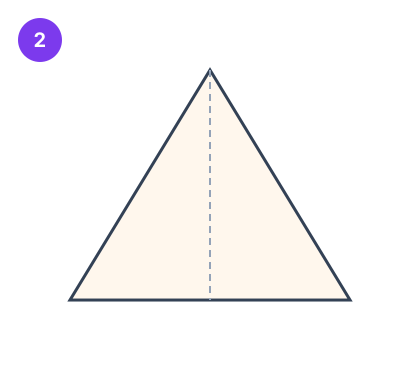
3. Create Wing Folds
Take the bottom corner of the triangle and fold it upward past the top edge. Flip the paper over.
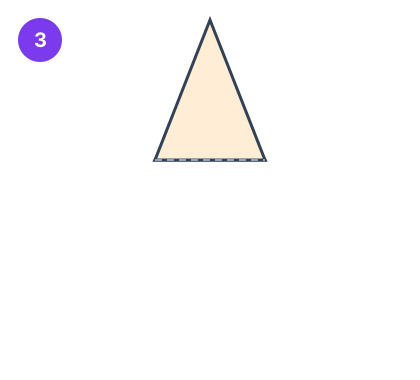
4. Fold the Body
Fold the top point down about one centimeter. Then fold the paper in half vertically.
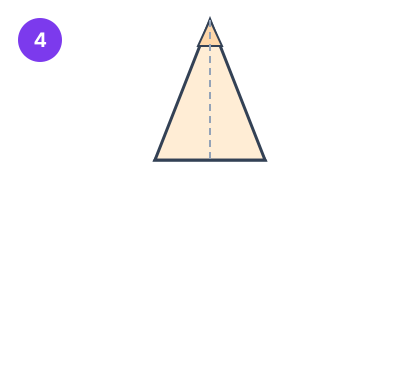
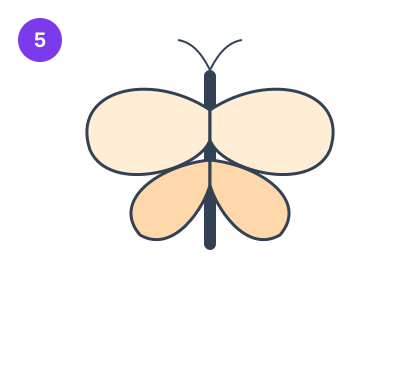
5. Shape the Wings
Gently open the two wing flaps. The folded top point creates a pocket that holds the butterfly shape together. Adjust the wings to your liking.
Pro Tips
- Use double-sided paper for colorful wings
- Attach to a string to make a butterfly garland
- Make several in different sizes for a wall display
Related Crafts
Learn More About Paper
Best Origami Paper for Beginners
Choosing the best origami paper for beginners: compare kami, tant, washi, and foil by weight, size, and price to start folding with confidence.
What Paper to Use for Origami
Wondering what paper to use for origami? Match paper to your project type — simple folds, complex models, wet folding, and kids crafts — with practical picks.
Can You Use Printer Paper for Origami?
Plain printer paper works for origami, but it has trade offs. Learn when standard copy paper is fine and when to switch to proper origami paper.
Origami Paper Size: Why 15 cm Is the Standard
Most origami paper comes in 15 cm squares, with 7.5 cm for tiny models. Learn the common sizes, inch equivalents, and how to cut A4 into squares.